
As a local moving guide, I’ve seen my fair share of stressful kitchen packing. Between having to keep track of expensive appliances and delicate glassware, it’s easy to get overwhelmed while packing up the kitchen. One of the most important things people often forget when packing their kitchen is ensuring they have plenty of time. Packing out your everyday dishes in between making meals can be a hassle, significantly if you’re cutting it close to your moving day deadline. To ensure you don’t experience any unnecessary stress at the last minute, try to finish packing your kitchen two days before the move – that way, you can have extra time for unpacking once you reach your new home! Follow our guide below for step-by-step ways to pack each type of delicate dish.
Moving Delicate Dishes
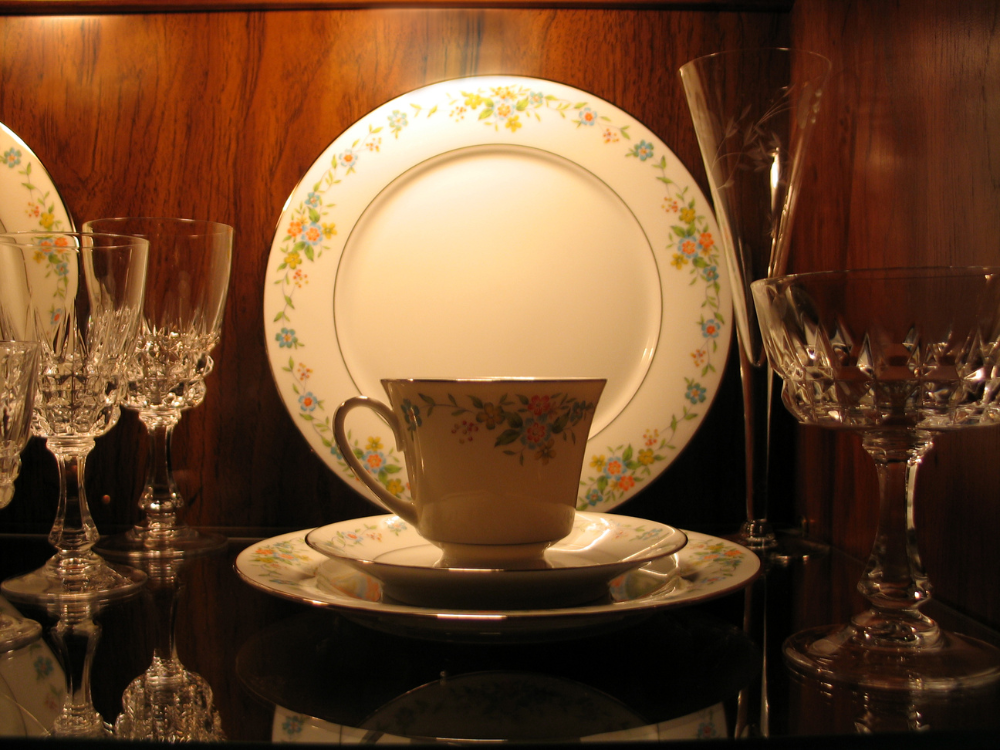
Moving can be stressful and expensive, but there are ways to ensure your dishes arrive safely without breaking the bank. Many moving supply stores sell boxes specially designed for dishes that are perfect for protecting fragile items, but you don’t always need to splurge on premium supplies. A basic box will do the trick if you carefully pack it appropriately. To start, wrap each plate individually with some packing paper and stack them four at a time before rewrapping the bundle together; it is essential to stand the plates up vertically in the box so they won’t get damaged while in transit. Add additional bundles until the box is packed snugly, and fill the top and all sides with more paper stuffing or bubble wrap to ensure everything is secure before sealing it up with tape—your dishes will thank you!
Cups, Glasses, and Stemware

At SecureSpace Self Storage, we aim to ensure your dishes and stemware arrive safely at their next destination. To do this, we recommend carefully packing cups, glasses, and stemware. For starters, use wadded-up packing paper to stuff the cups and glasses gently, then take a few extra moments to create padding by crumpling paper around stems and handles. Continue by wrapping each piece individually in paper before packing them in an upright position in a box lined with packing paper inside. If you are dealing with multiple pieces of uniform-size glassware, then stacking can be employed – just don’t forget to fill all vacant space with crumpled paper! Once that’s finished, turn the box labels over — “Fragile—This Side Up” — and consider double-boxing if the items are incredibly delicate.
Other Kitchen Items
For items like pitchers and teakettles that have long handles, it’s important to secure those handles before wrapping them up. Packing paper is the best way to ensure that no oversized cooking items can cause any trouble during the move. It’s a simple step that goes a long way in protecting fragile items and making sure your other kitchen products are transported safely to their new home.
Teapot

Wrapping a teapot for shipping or storage can be easy and safe when done correctly. To ensure its safety during transport, start by rolling up paper to wind around the handle, followed by additional paper around the spout. After that, you’ll want to place it upside down in the bottom corner of a stack of packing paper and fold a few sheets over it. Secure everything securely with tape before inserting the teapot and lid into the same box. This will keep your teapot safe wherever it travels!
Knives
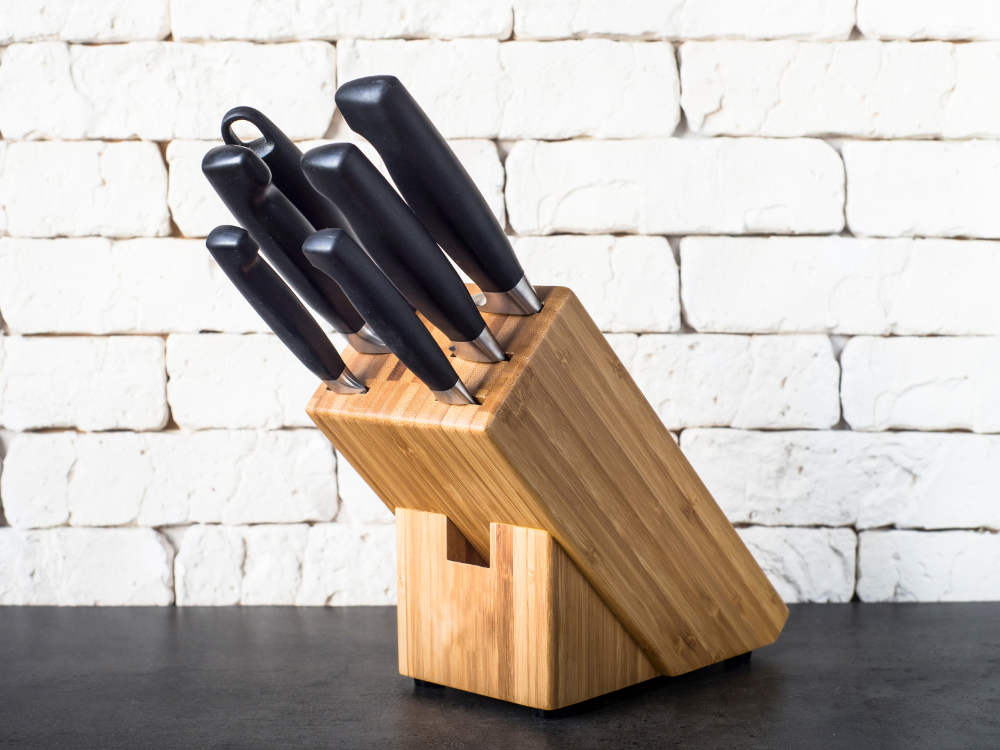
When packing knives for transport or storage, carefully wrap them up in protective materials. Paper alone isn’t enough; individual knives should be wrapped in paper, then in bubble wrap to ensure their safety. For extra protection, consider investing in sleeves explicitly designed for knives that will better guard against sharp edges when unpacked. Labeling each bundle will help remind you of their dangerous edges, no matter what type of material you choose, so you can take the proper precautions when unboxing them again.
Pots and Pans
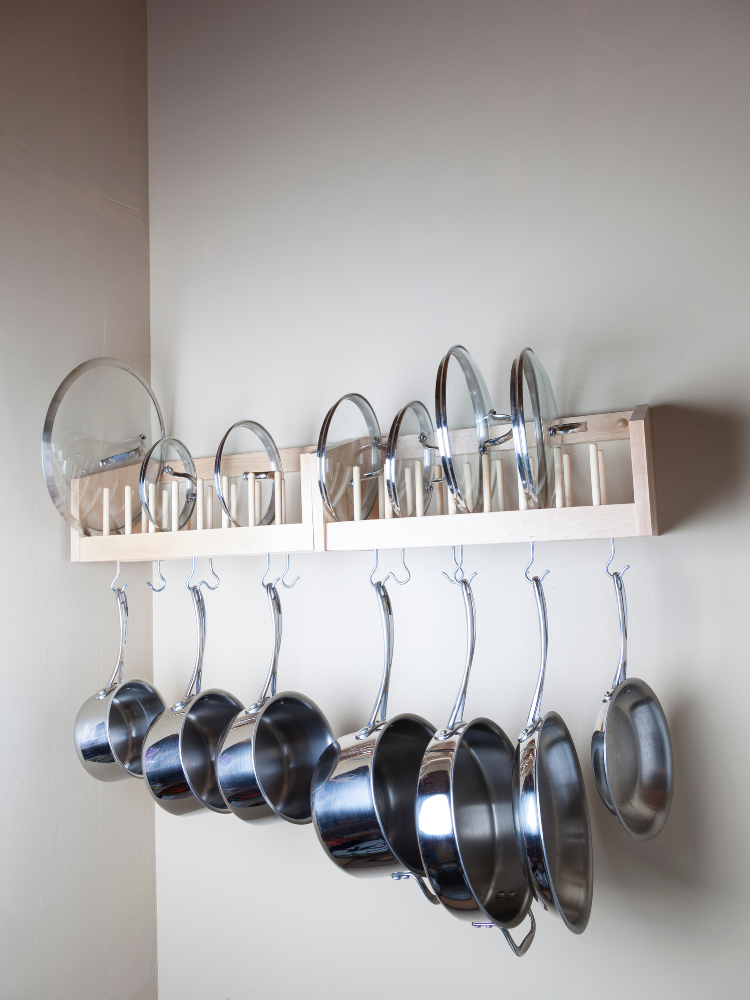
Refrain from getting weighed down with packing pots and pans! Nesting them is a great way to simplify the process. Start by lining the largest size with two or three sheets of packing paper, then inserting smaller sizes incrementally until you have achieved the desired nesting combination. When all your pans are nested, wrap the bundle with at least three sheets of extra packing paper, seal it securely with a piece of tape, and place it in an appropriately sized box lined with packing paper. Follow these steps, and you’ll be on your way to portable kitchen convenience in no time!
Storing Dishes
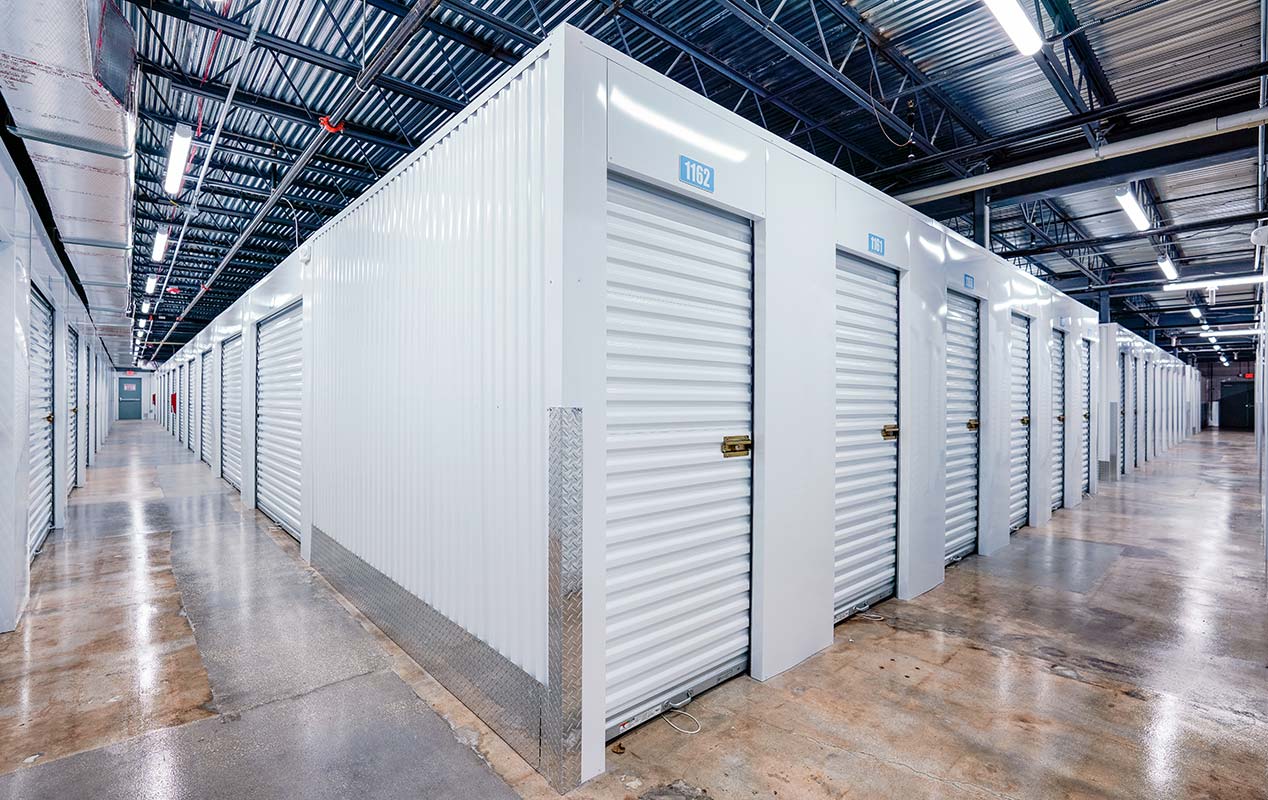
Moving is often stressful, and protecting your more fragile or valuable items can add to the headache. If you want to avoid transporting your delicate dishes to the new residence, look at our local storage units. Storage units provide an ideal solution for ensuring your delicate dishes are safe, secure, and easily accessible when you need them. Additionally, many of our storage facilities come with climate-controlled options, giving you even greater peace of mind when it comes to keeping vulnerable dishes safe during a hot or cold move. So if you need help storing those priceless heirloom plates during a relocation, try a storage unit at SecureSpace Self Storage and rest assured, knowing your items are safe and sound. If you have any questions or want to see a unit in person, contact your local facility today, and a member of our highly trained team will be happy to help!
Thanks For Reading!
It’s essential to keep all kitchen items organized and adequately stored, from dishes to cutlery. Doing so protects them from unnecessary wear and tear, allowing you to get more life out of your kitchen inventory. Plus, it creates an inviting and calming atmosphere in the space you can enjoy daily. We hope this information has helped relieve some stress about navigating your kitchen storage — know that you’re taking care of an essential part of your home, and do it with confidence. Thank you for reading our post!